Want to install your own smart lock? There are different types of smart locks available, each with unique features and installation requirements. This article offers a complete guide for a smart lock DIY installation. From gathering tools to step-by-step instructions, you’ll find everything you need to secure your home easily.
Key Takeaways
- Gather tools and ensure door compatibility before installing a smart lock to prevent issues.
- Carefully remove the old lock and follow the manufacturer’s instructions for a proper installation of the new smart lock.
- Set up the smart lock’s app for remote access and regularly maintain the lock to ensure long-term functionality and security.
Prepare for Smart Lock Installation
Smart lock diy installation – key takeaways
Before starting the installation, gather all the necessary tools and materials. This preparation ensures a smooth and efficient installation. Also, check your door’s compatibility with the new smart lock to avoid any surprises.
Make sure all required hardware components, such as mounting plates and screws, are included with your smart lock and are compatible with your door before you begin.
Organizing your workspace and having everything in place will set the stage for a successful installation, so you can decide how to proceed effectively.
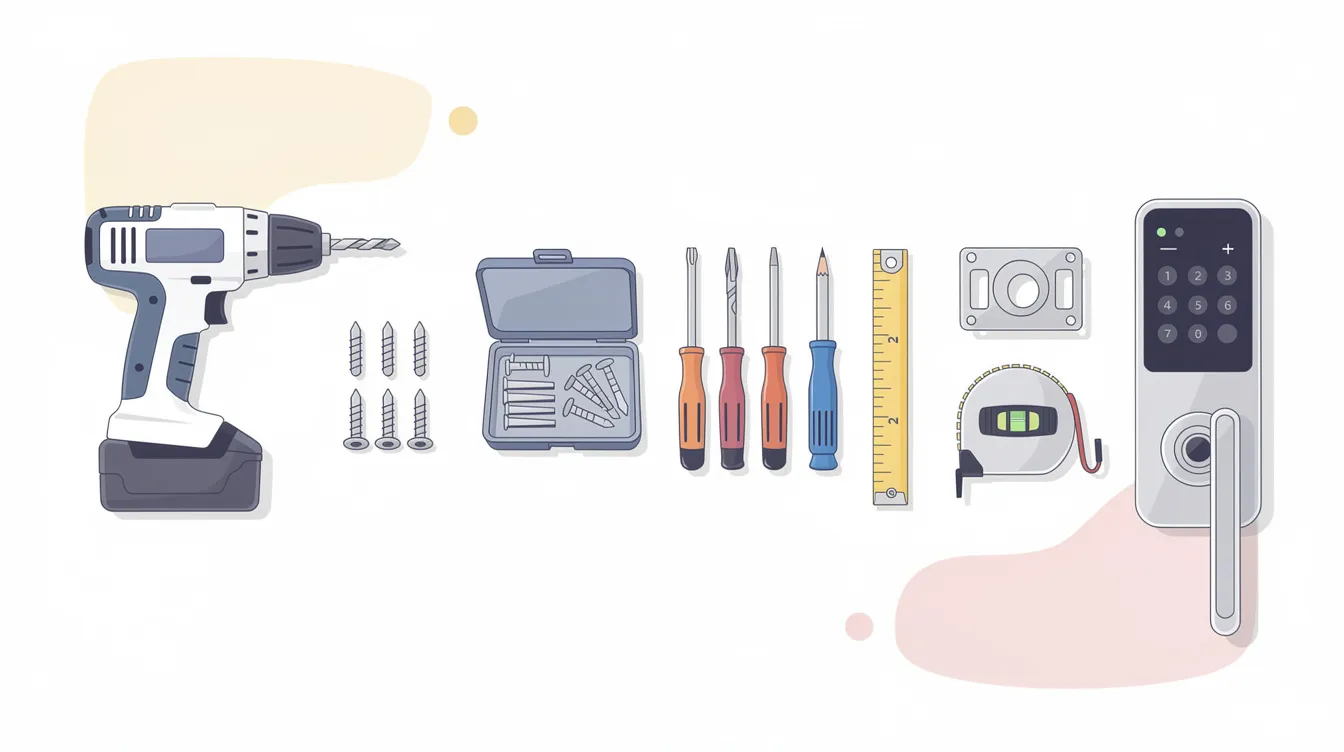
Tools and Materials Needed
You’ll need a few basic tools to install a smart lock: a screwdriver, power drill, measuring tape, and pencil. Ensure you have all components of the smart lock, including batteries, mounting screws, and the deadbolt.
Having these tools and materials ready will streamline the installation and help you avoid unnecessary delays.
Check Door Compatibility
Verify your door’s compatibility before starting the installation by:
- Checking that most smart locks work with standard deadbolts and handle lock systems.
- Comparing your door frame and existing deadbolt against the smart lock’s specifications.
- Noting that some smart locks may require a single-cylinder deadbolt.
Refer to the manufacturer’s manual for specific measurements and additional compatibility details.
Remove the Existing Lock
With preparation complete and compatibility verified, it’s time to remove the existing lock. Gather tools like a Philips head screwdriver or an Allen wrench, and carefully disassemble the old lock.
Detach the interior and exterior parts by removing the bolts to gain access to the deadbolt and strike plate.
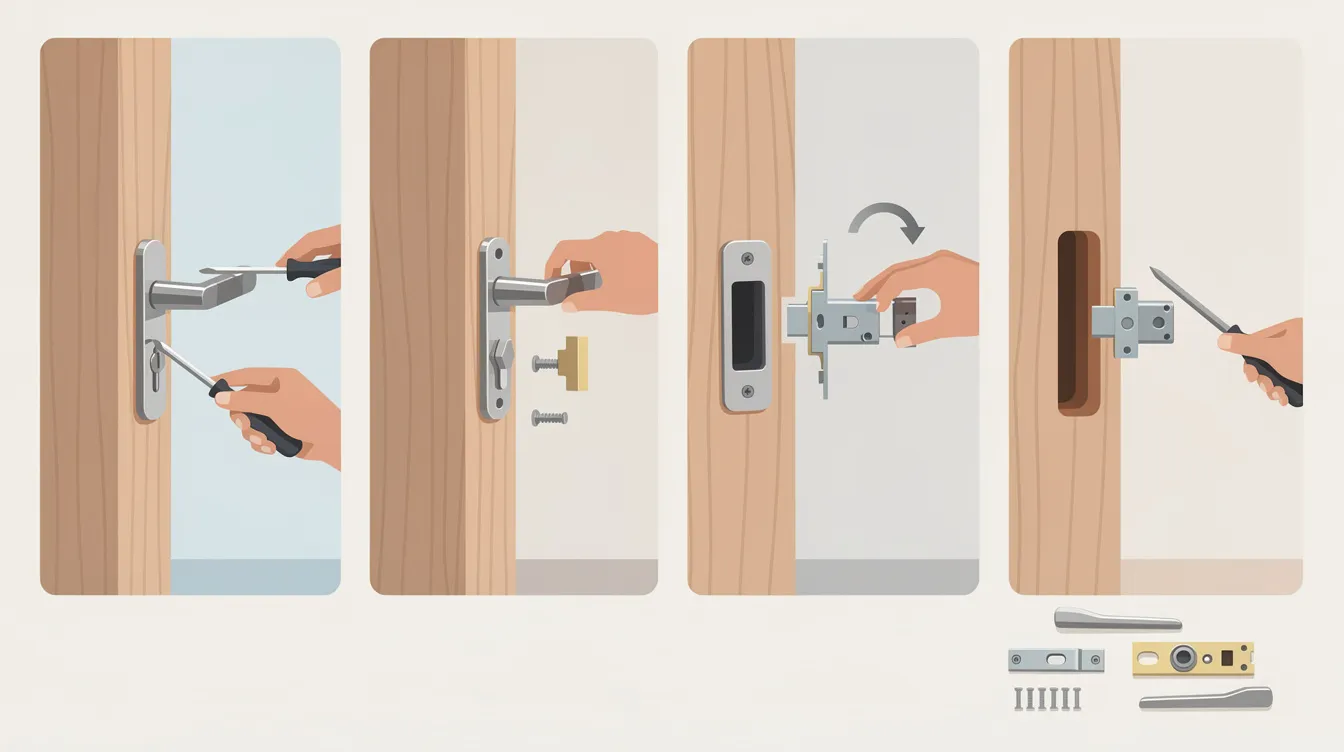
Disassemble Interior and Exterior Parts
Start by using a screwdriver to detach the interior side of the lock. Once removed, pull off the exterior part from the door.
Detach the mounting plate to complete the disassembly process, leaving an empty hole ready for the new smart lock.
Extract Deadbolt and Strike Plate
To remove the existing deadbolt and strike plate to make space for the new lock:
- Identify and remove the screws securing the deadbolt and lock cylinder with a screwdriver.
- Extract the lock cylinder.
- After removing the lock cylinder, the deadbolt should come out easily.
Ensure the deadbolt and strike plate are completely detached from the door and door frame.
Install the New Smart Lock
Smart lock diy installation – remove the existing lock
A smart lock is a device that integrates with your smart home ecosystem, offering features like remote access and automation. These installation steps are most commonly performed on the front door to maximize home security.
With the old lock removed, proceed to install the new smart lock by following these steps:
- Carefully read the manufacturer’s instructions, as each model may have specific requirements.
- Attach the new deadbolt securely.
- Attach the exterior components securely.
- Attach the interior components securely.
After everything is in place, conduct a functionality test to confirm the new lock operates correctly.
Insert New Deadbolt
Align the new deadbolt with the prepared hole in the door, ensuring it fits snugly. Insert and secure the deadbolt with two screws to prevent movement.
Attach the new latch and faceplate to complete the installation, ensuring the deadbolt is firmly in place and ready for the next components.
Attach Exterior and Interior Components
Attach the exterior part of the smart lock to the door. Connect all necessary wires according to the instructions, ensuring the data cable goes underneath the deadbolt if needed.
Secure the mounting plate over the interior component with screws holding the lock to stabilize and align all parts correctly.
Secure Mounting Plate and Faceplate
To ensure stability and security when installing the lock:
- Firmly attach the mounting plate and faceplate to the door.
- Follow the model’s instructions to install the deadbolt assembly.
- Use smaller mounting screws to secure the smart lock.
After installation, test the locking mechanism to ensure it works correctly before reattaching any cover plates.
Set Up the Smart Lock’s App
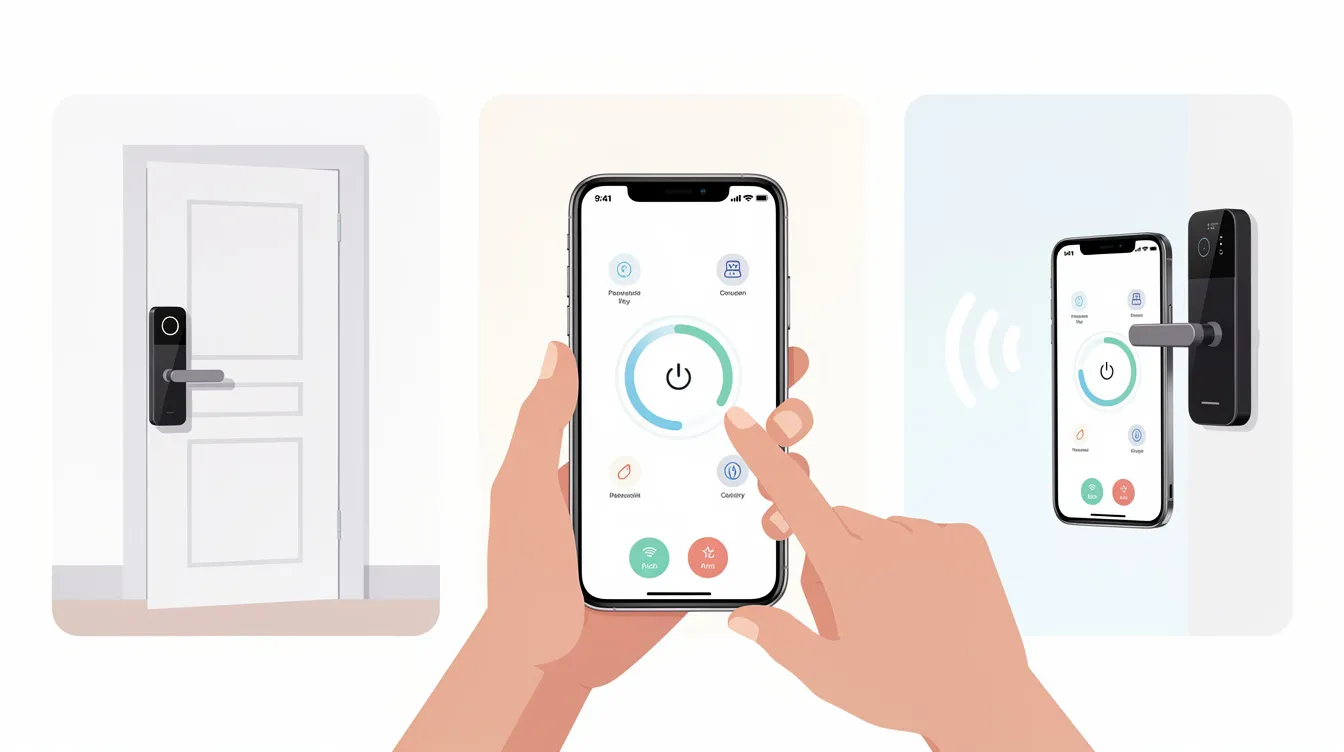
With the physical installation complete, set up the smart lock’s app for remote access and control, enhancing its functionality. Download the eufySecurity app and create an account. If the lock isn’t detected, press the sync button to troubleshoot.
The app lets you receive notifications and configure settings for enhanced security. You can also track who enters and exits your home by keeping a record of lock activity.
Pairing the Lock with Your Phone
Download the eufySecurity app from the App Store or Google Play to pair the smart lock with your phone. Long-press the Setup button on the lock until you hear a beep, indicating readiness to connect via Bluetooth.
Use the app to scan the provided QR code and ensure the lock is within range. Regularly monitor the battery level through the app to prevent power issues.
Configuring Settings and Access
Customize the smart lock’s settings by:
- Setting a passcode for secure access.
- Assigning temporary passcodes for guest access, enhancing both convenience and security.
- Setting up a keypad code for keyless entry, allowing convenient and secure access without a physical key.
- Using the app to assign unique access codes to individuals for better control over home entry.
These features simplify managing access and enhance security.
Testing and Troubleshooting
Smart lock diy installation – set up the smart lock’s app
Testing your smart lock ensures it functions correctly. Start by testing the locking and unlocking mechanism to confirm smooth operation. Address any issues, such as misaligned parts or connectivity problems, promptly.
Reattach any cover plates only after confirming the lock’s functionality.
Test Locking and Unlocking Mechanism
Ensure the deadbolt moves freely without obstruction and that the door open and closes properly. This step confirms your smart lock operates as intended, providing security and convenience.
Verifying the locking mechanism is crucial to the installation process.
Common Issues and Fixes
Common issues with smart locks and their solutions:
- Connectivity problems: Restart the lock or router if connectivity issues arise.
- Misaligned parts: Ensure the bolt and strike plate are aligned correctly to prevent jamming.
- Mechanical obstructions: Check for and remove any obstructions that may cause jamming.
If a smart lock fails to unlock, it may be due to an incorrect code or unrecognized fingerprint. Factory resetting the lock can resolve persistent issues after basic troubleshooting.
Benefits of Installing a Smart Lock
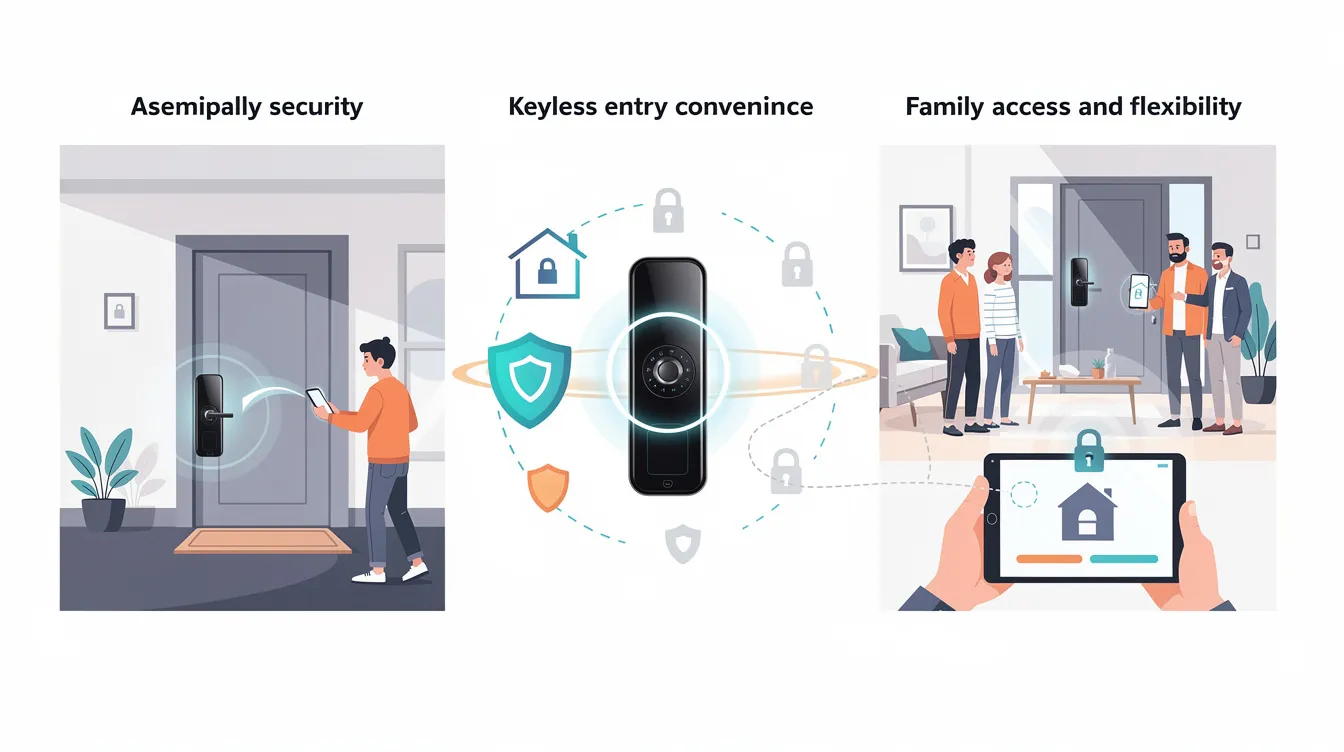
Smart locks offer enhanced security and convenience. They allow access through:
- Keypads
- Apps
- Biometrics These methods reduce the risk of unauthorized entry. Additional features include:
- Remote unlocking
- Notifications when doors are opened
- Ability to control and unlock your door remotely using your smartphone
These features significantly increase security. Smart locks are also designed to resist traditional lock picking methods, providing enhanced security compared to standard locks.
Keyless entry and remote control make smart home locks a valuable addition to any home.
Enhanced Security Features
Biometric locks offer quick access without keys, reducing the chances of break-ins. Their complexity makes them less prone to unauthorized access compared to traditional locks.
These advanced security features provide peace of mind and enhance overall home security in the house, alleviating any worry about safety.
Convenience and Remote Access
Smart locks lock offer remote control features that enhance convenience and security. Wi-Fi-enabled smart locks allow users to control their locks remotely, share virtual keys, and receive real-time alerts. Bluetooth smart locks pair with smartphones for proximity-based unlocking and may include voice control capabilities.
Geofencing technology can automatically lock or unlock doors based on the user’s location. These features improve convenience and enhance overall home security, including the ability to use an auto lock feature.
Maintenance Tips for Smart Locks
Maintaining your smart lock ensures long-term performance and security. Regular battery checks are crucial, as low power can lead to malfunctions. Software updates eliminate potential bugs and enhance performance.
Keeping the smart lock clean and regularly checking the locking mechanism will maintain its functionality over time.
Regular Battery Changes
Regularly changing the batteries in your smart lock prevents power outages and ensures consistent performance. Replacing the batteries before they deplete prevents unexpected lockouts.
Replacing all batteries simultaneously maintains consistent power and performance. Using high-quality alkaline batteries can extend the life of the smart lock and reduce the frequency of changes.
Software Updates
Keeping the smart lock’s software updated improves security and functionality. Software updates fix vulnerabilities and enhance overall security.
Regular software updates ensure the lock operates with the latest security measures and features, providing peace of mind and enhanced home protection.
Summary
Installing a smart lock is a rewarding DIY project that enhances your home security and convenience. From preparing your tools and checking door compatibility to installing the lock and setting up its app, each step is straightforward and manageable. Testing the lock and troubleshooting any issues ensure that your new smart lock operates smoothly and securely.
With the numerous benefits of smart locks, including enhanced security features and the convenience of remote access, they’re a valuable addition to any home. By following these steps and maintaining your smart lock, you’ll enjoy increased peace of mind and the ease of keyless entry. So why wait? Take the first step towards a smarter, more secure home today.
Frequently Asked Questions
What tools do I need to install a smart lock?** **?
You’ll need a screwdriver, power drill, measuring tape, and a pencil to install a smart lock. Don’t forget to have all the lock components ready, like batteries and screws!
How do I know if my door is compatible with a smart lock?** **?
Check if your door has a standard deadbolt or handle lock, as most smart locks are compatible with those. Just make sure to compare your door’s measurements with the smart lock’s specs for a perfect fit!
What should I do if my smart lock isn’t detected by the app?** **?
If your smart lock isn’t showing up in the app, try hitting the sync button on the lock and make sure it’s powered on and close enough to your phone. Also, keep an eye on the battery level to avoid any connectivity mess-ups!
How can I assign temporary access to guests?** **?
You can easily give guests temporary access by using your smart lock’s app to create passcodes. It’s a convenient way to keep your home secure while still being hospitable!
What maintenance is required for smart locks?** **?
To keep your smart lock in tip-top shape, just make sure to change the batteries regularly, keep it clean, and update the software. Also, a quick check on the locking mechanism every now and then helps it work smoothly!